Configure Data Source
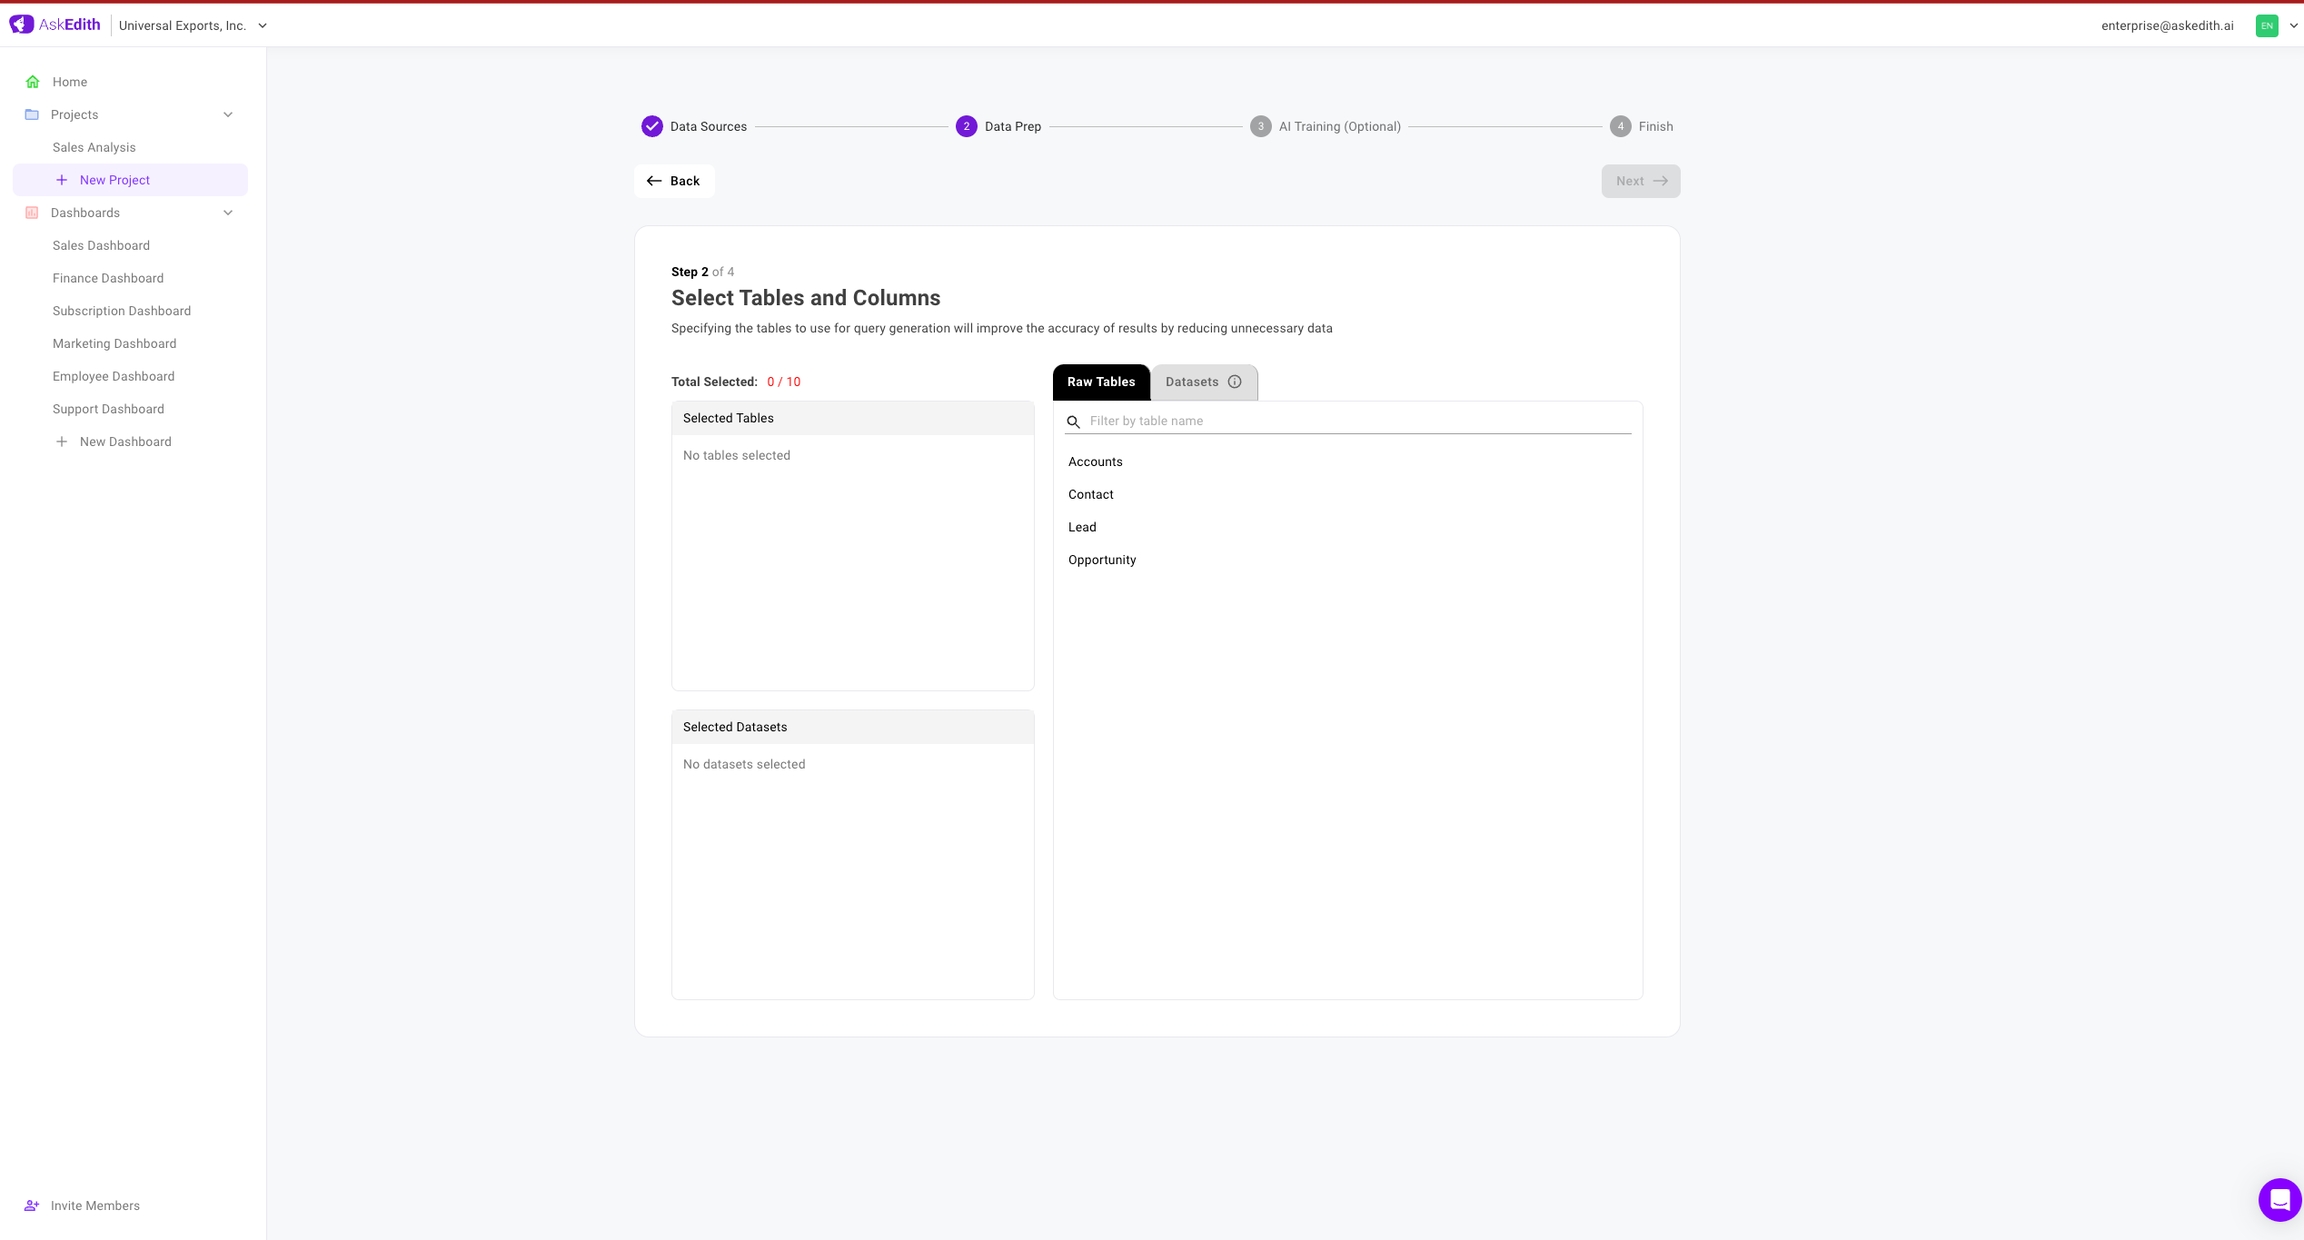
Once you have connected your data source, you will be taken to the Select Tables and Columns page where you can select which tables and columns to use for your queries.
On the right you can see all of your tables from this data source under the Raw Tables tab.
The second tab on the right is the Datasets feature. This is an advanced feature, check the Datasets page for more information.
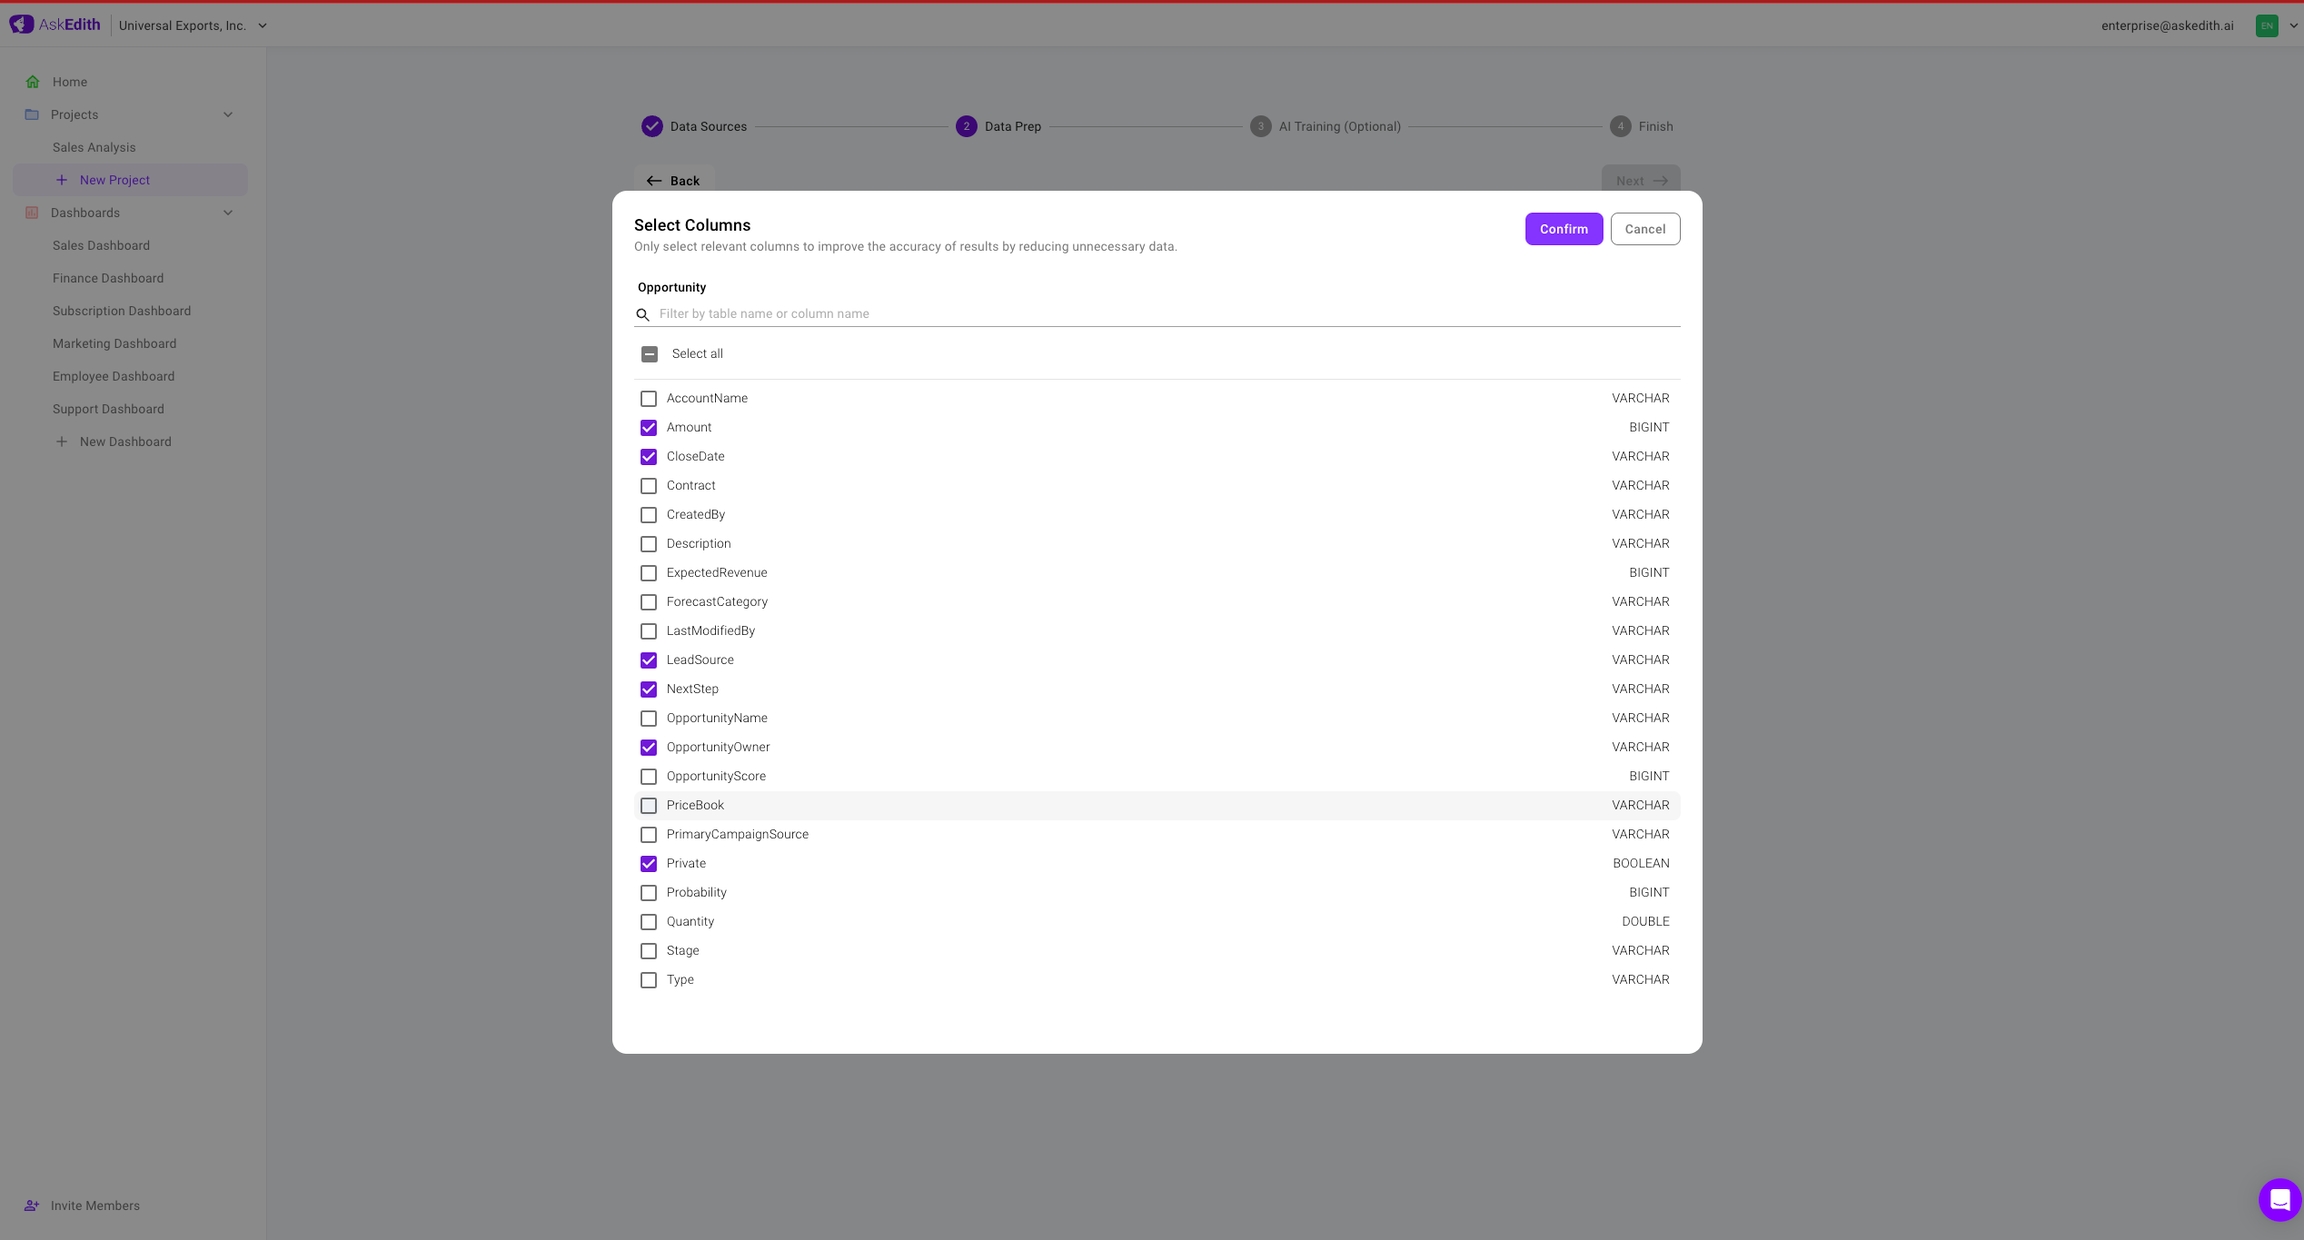
Click on a table name to add it to your project. This will open up a view of all of that table's columns and their types. Select which columns you want included, then click Confirm at the top right.
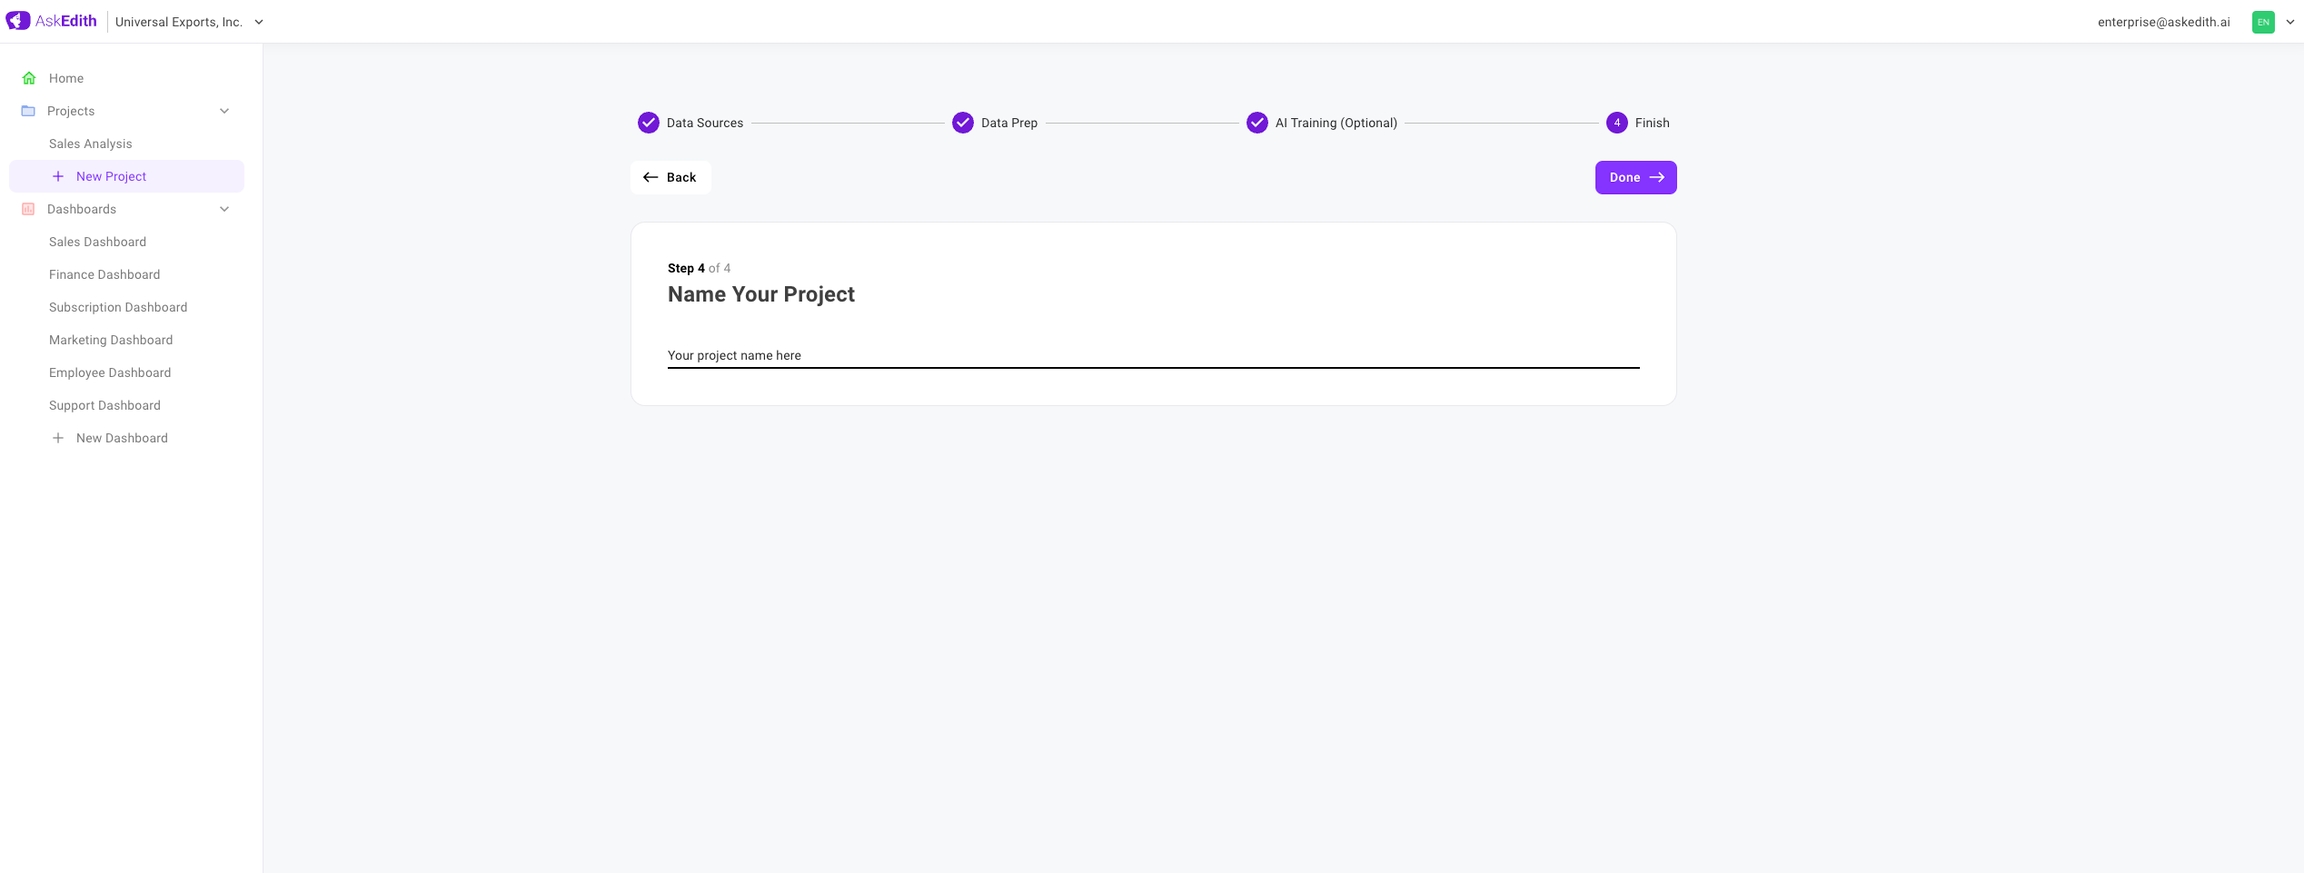
After confirming you will be taken to the optional AI Training step. If you are interested in improving performance, you can view details on how to set up the training here. Otherwise, you can skip this step and go straight to step 4, Name Your Project.
After picking a name and hitting Done, you're all set! Time to ask your questions. For more info on how to ask a good question, check out the Question Tips page.
Last updated